Destiny 2 Prophecy Dungeon Guide
A full guide to the Prophecy dungeon in Bungie’s Destiny 2

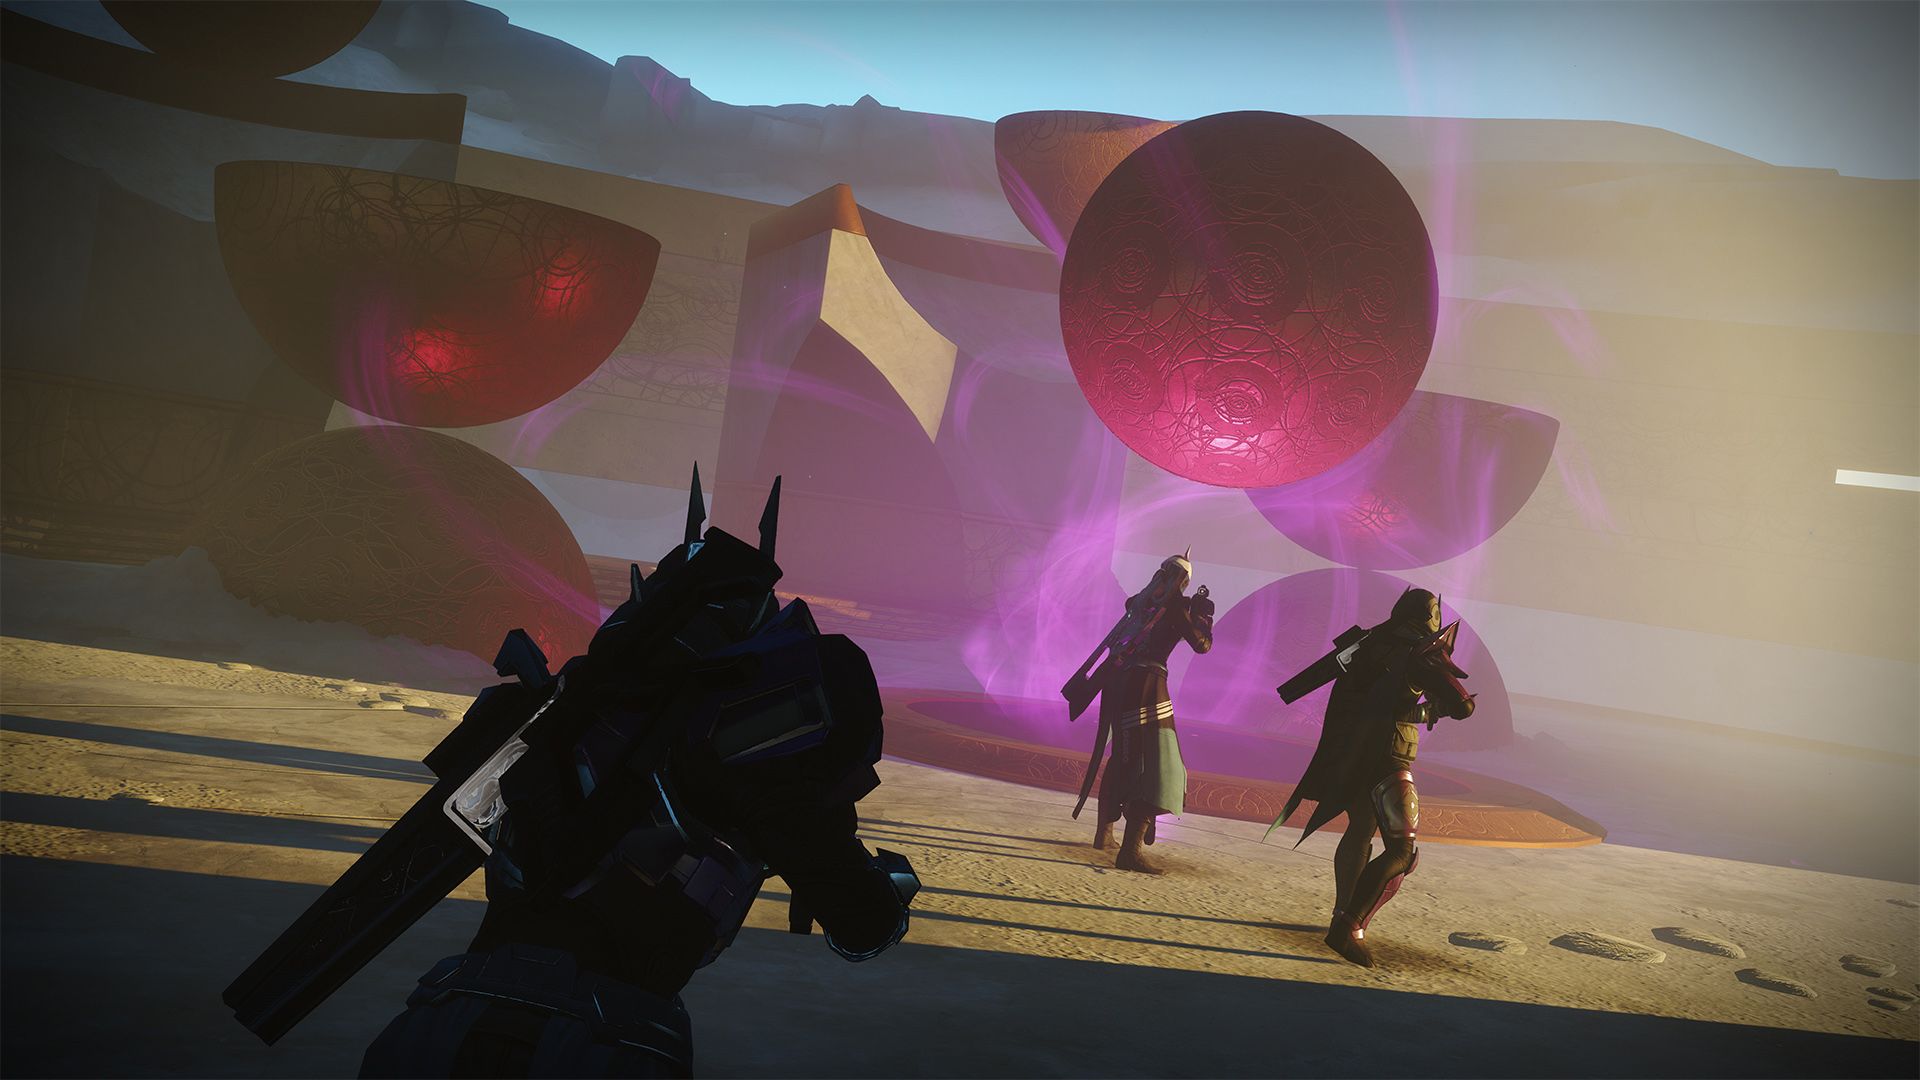
The 3rd dungeon of Destiny 2, the Prophecy dungeon is not only a visual feast, but it also has some of the most spatially challenging mechanics ever seen in a dungeon. Are you prepared to travel to the land of the Nine, Guardian? Secrets and treasures may behold themselves to you, but the Unknown Space holds just as many dangers as treasures, and that is if we are very lucky indeed.

As your fireteam is brought into the opening chamber, the main mechanic of the dungeon introduces itself to you. Darkness and Light prevail here, and when you’re in darkness, a dark aura will creep around the edges of your view. Conversely, while you’re in the light, an aura of light will do the same. In the room are several Taken enemies and two pillars, one of light, and one of the dark. Removing both of these pillars will open the door forwards. In order to remove a pillar, you must deposit 5 motes of either light or dark, depending on if you are depositing into the light or dark pillar. In order to gain motes of light, you must kill a taken knight while you are in the light. In order to gain motes of darkness, you must kill a taken knight while you’re concealed in darkness. You cannot hold both light and dark motes at the same time. When both pillars have been cleansed and the door unlocks, the path to the first boss awaits.
A half sphere surrounded by rotating rings is where your team will find Phalanx Echo. Do not bother attacking them directly at the moment, they will be immune. 4 Pillars will spawn somewhere on the battlefield, 2 of light, and 2 of darkness. As the fight begins, taken knights will start to spawn, presenting the opportunity for motes. Be careful of your positioning, each time a pillar is cleansed, the rings around the arena move, changing which areas are in light and which are in shadow. Once all 4 pillars are cleansed, the damage phase begins. Rinse and repeat until Phalanx Echoes no more.
Purple light in the center of the arena welcomes your fireteam down into the next section of the dungeon, the wasteland. Your team is looking for Taken Blights, and the wasteland is big enough that using sparrows for your search is a requirement. Each time the Blights are taken down, your fireteam will see a bright wisp of light headed in the direction of the next blights. After three waves of blights, the way will open. Find your way back to the door, and ascend the stairs into the Cube.

The Cube is equal parts puzzle room and boss. The wisp from the wasteland is here, either on one of the walls or in rare cases the ceiling. There are pillars on all 4 sides of the room, and your fireteam will want to cleanse the one closest to the wisp. When you cleanse a pillar, your fireteam can step to the center of the map and change the orientation of gravity based on which pillar they cleansed, making the wall closest to the cleansed pillar into the new floor. Continue chasing the Toland wisp around the cube until your team is taken to a room with 2 Centurion Echos. Take them down and your team can continue on their journey through the wasteland.
Heading back out into the wasteland, your team will see Kell Echo. Chase them down, as they will lead you to the next phase of the dungeon, the Dead Sea. The Dead Sea is made of floating platforms, thin red ribbons, and polygonal buildings suspended in the air. The ribbons can be ridden on via sparrow, though you’ll need to be a good driver not to crash, which is why there is a slower, more platform-based method to traverse the sea as well. Make your way to the final platform and your fireteam will ascend. Kell Echo is waiting.

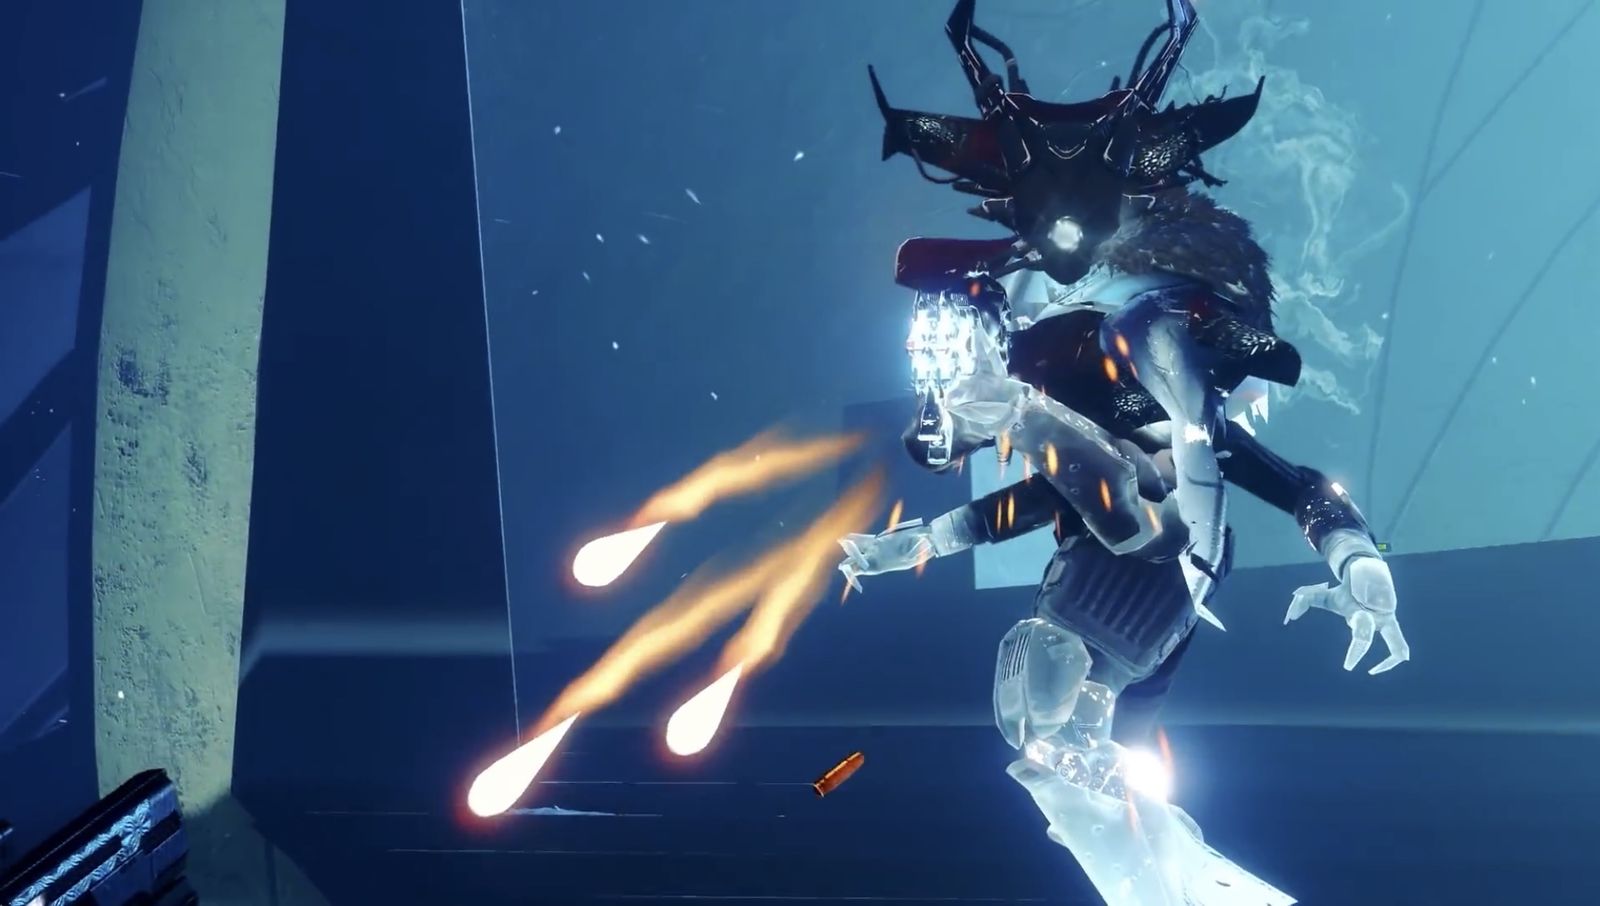
Kell Echo’s boss fight represents a not insignificant jump in difficulty. In the first, triagonal room, shades of Kell Echo fire on you from every corner. In order to banish them, you’ll need to cleanse their associated portal, then kill the Taken Ogre that replaces them upon cleansing. Remove all three shades and you will start the DPS phase of the fight.
Stand in the arena center to be teleported into a long hallway made of floating platforms. As long as your guardian is here, they are at risk of gaining Dark Entropy. Ten stacks of this will kill your guardian. The closer you are to Kell Echo, the more protected you are from Dark Entropy. But they are far from a static target, as they will be advancing through the hallway throughout the damage phase.
Strategies for the Damage Phase:
- Stay Close: To manage Dark Entropy, remain within a platform or two of Kell Echo. This proximity reduces the risk of reaching lethal stacks.
- Follow the Boss: As Kell Echo teleports and advances, maintain your pursuit. The boss will periodically stop, so capitalize on these moments to inflict damage.
- Prioritize Snipers: Focus on taking out the Taken Hobgoblin snipers as you move, as they can significantly disrupt your team’s efforts.
Weapon and Ability Recommendations:
- Single-Fire Weapons: Utilize weapons like "The Mountaintop" or "Anarchy" that allow you to fire and forget, optimizing damage while on the move.
- Buffing Supers: Deploy Supers such as Bubble, Well, and Tether in Kell Echo's first and final positions to maximize damage output.
Throughout the fight, Kell Echo will spawn snipers and use blight attacks to teleport you and your teammates backward. When the boss leaves the area, the DPS phase is over, and your team will need to teleport themselves back to the main area. Rinse and repeat until the Echo is Kelled and you’ve claimed their loot.
Dealing damage here is tough because you’re constantly on the move. However, with the right strategy and coordination, you can overcome Kell Echo's challenges and emerge victorious.
After you successfully defeat the Kell Echo boss in Destiny 2's Prophecy dungeon, you'll be transported to a new location known as the audience chamber of the enigmatic Nine. This mysterious and visually stunning chamber serves as your reward space, where you'll find a trove of loot waiting for you. This loot includes various weapons and gear that can enhance your Guardian's abilities, offering you powerful new tools for your future adventures. Each piece of loot is a testament to your hard-fought victory and adds an exciting element to your journey in Destiny 2.
Top Weapons for Conquering the Prophecy Dungeon
Facing the challenges in the Prophecy dungeon demands a well-curated arsenal. Here's a breakdown of some effective weapons you should consider:
- The Mountaintop: Known for its powerful grenade launcher capabilities, it's perfect for wiping out clusters of enemies and dealing massive damage.
- Izanagi’s Burden: This sniper rifle excels in long-range precision, offering devastating critical hits with its unique shot charging mechanism.
- Anarchy: A formidable choice, this grenade launcher allows you to strategize with sticky mines, ideal for controlling zones and inflicting continuous damage.
- Falling Guillotine: A sword that slices through foes with ease, making it excellent for close combat scenarios and boss encounters.
- Witherhoard: Utilize this grenade launcher to spread damage over time with its blight effect, excellent for both crowd control and boss damage.
Recommended Loadout
For those venturing into the dungeon, a balanced setup can make all the difference. Consider equipping:
- The Mountaintop: For explosive and ranged attacks.
- An Auto Rifle: Reliable for consistent and rapid fire, adaptable to most situations.
- Anarchy: Perfect for strategic gameplay and sustained area damage.
With this powerful combination, you’ll be prepared to tackle the unique challenges and formidable foes within the Prophecy dungeon. Make sure to adjust your loadout to your team's strategy and the roles you need to fulfill.

