Grasp of Avarice Destiny 2 Guide
A full Dungeon guide to Destiny 2’s Grasp of Avarice

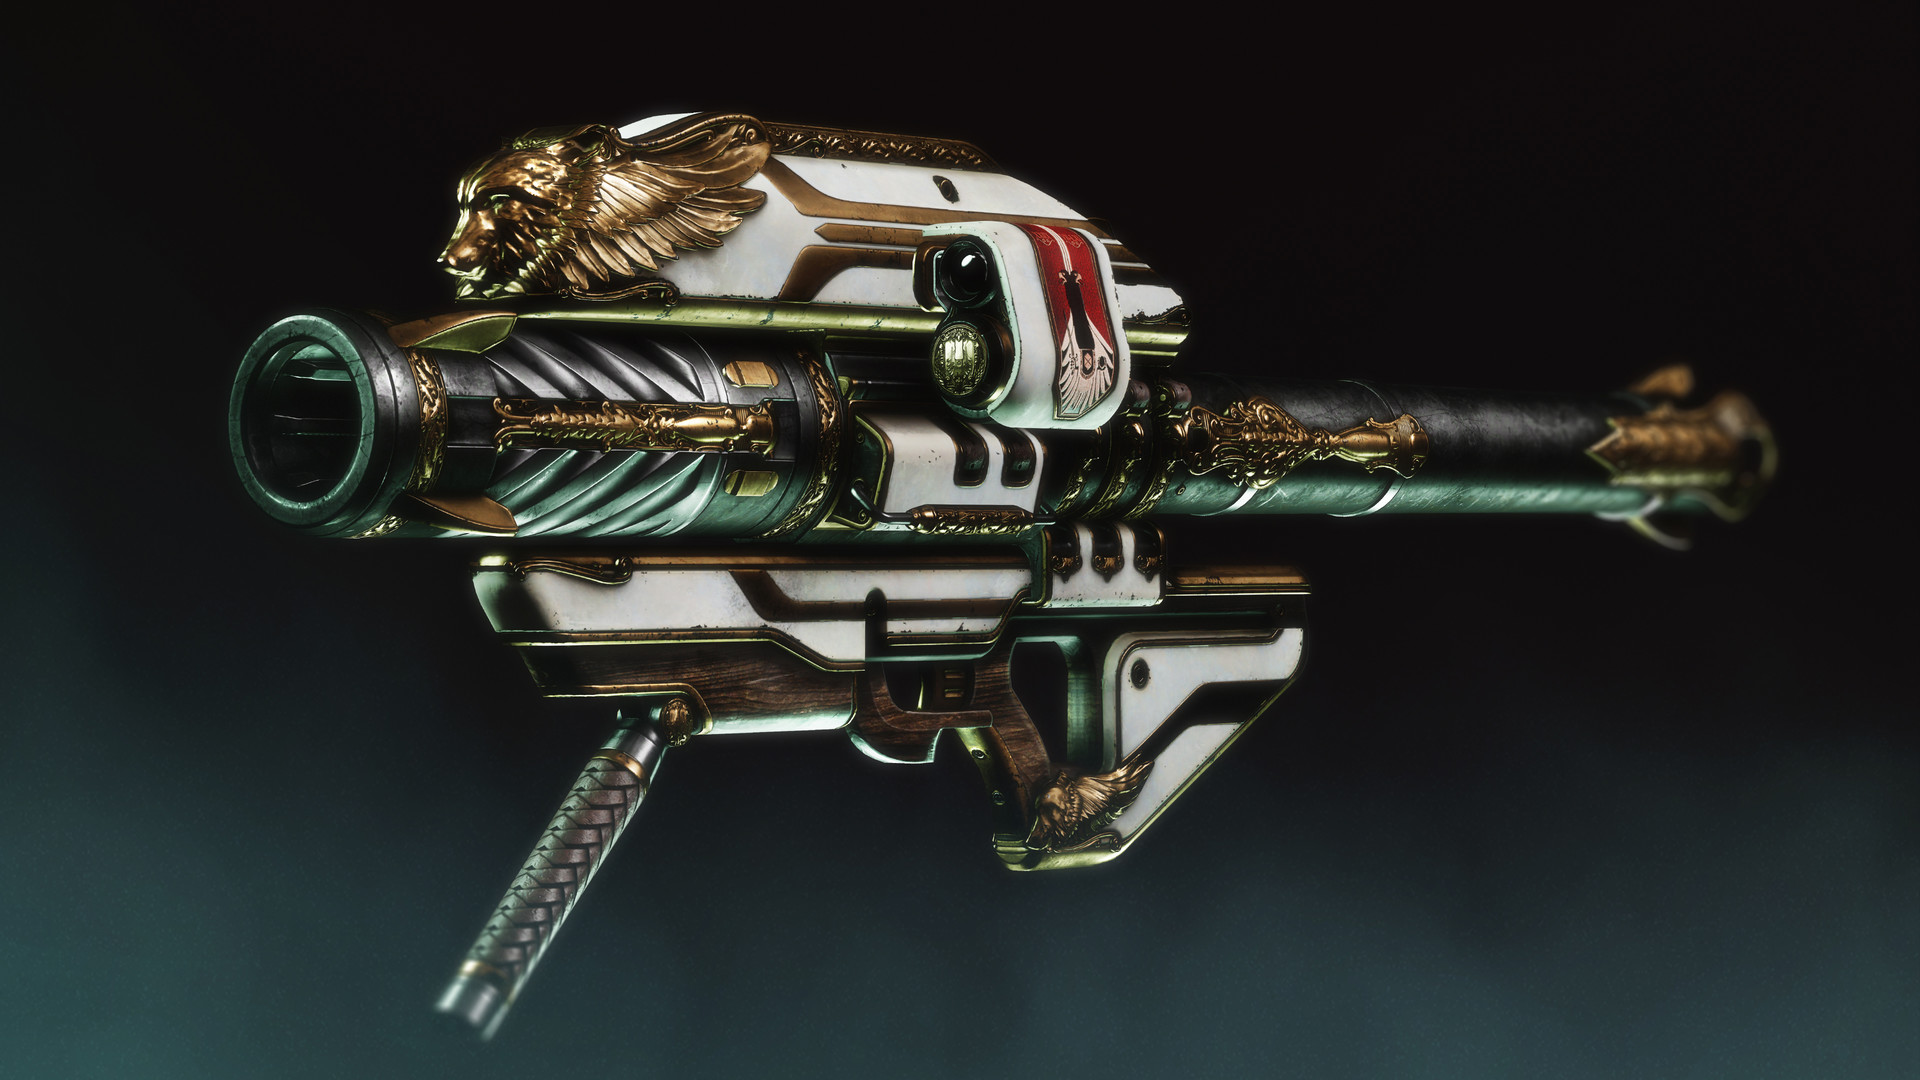
Released as part of Bungie’s 30th Anniversary, the Grasp of Avarice was only the 4th dungeon released for Destiny 2 at the time of its release and can be one of the more forgiving dungeons in Destiny’s roster. However, it’s still a fan favorite for all of the classic loot available in this Pirate-themed adventure, and for being a requirement for ‘And Out Fly The Wolves.’, the questline that earns your guardian the classic Destiny weapon Gjallarhorn, as well as a requirement for Gjallarhorn’s exotic catalyst.

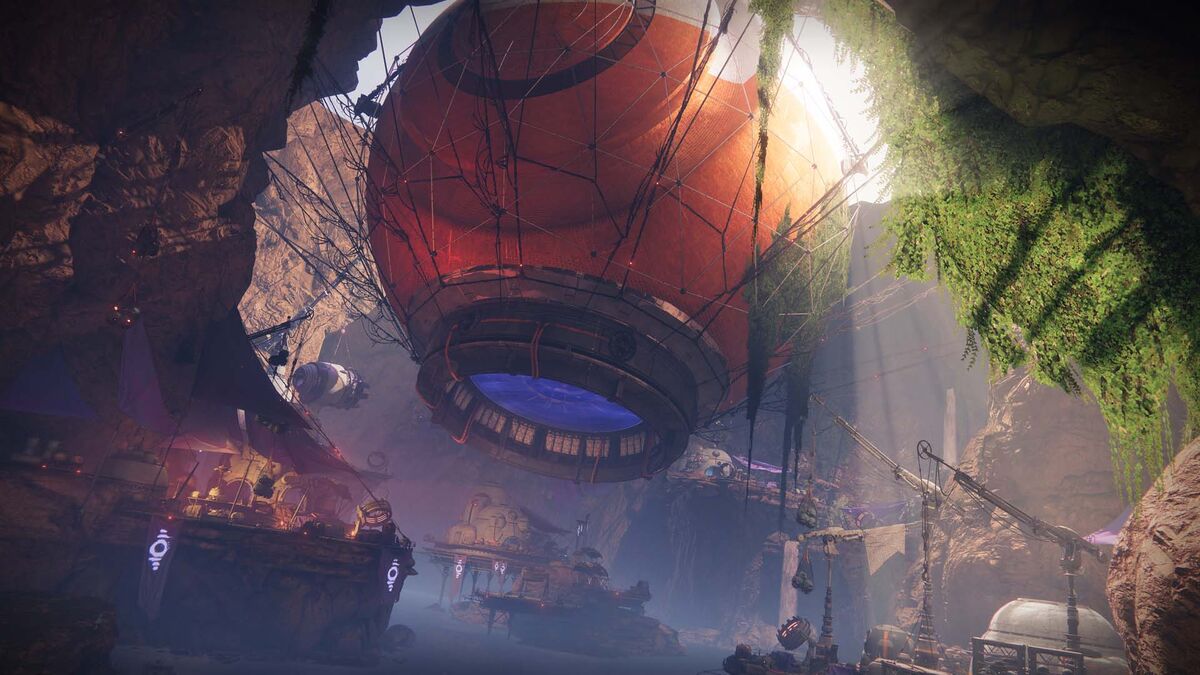
Your journey starts in the Cosmodrome, in front of the infamous loot cave. After defeating the wave of enemies that rush out to defend the cave, you’ll notice that they’ve dropped what appear to be engrams that flash red and gold. Picking these engrams up will give you the debuff Burdened By Riches. Holding this debuff will kill your guardian when the time runs out, and the time can be extended by picking up additional stacks of the debuff, although doing so is only prolonging the inevitable. In order to get rid of the debuff while keeping your guardian alive, you’ll need to head inside the cave. Inside is a white crystal, and standing close enough to it feeds your debuff to the crystal, leaving your guardian alive and unburdened. Doing so will also open up a hole in the cave floor, where your guardian and their fireteam can descend into the rest of the dungeon.
What hidden treasure would be properly hidden without a truly ridiculous number of traps? Not this one apparently, as danger lies around every corner. After taking the second door on the right and pulling a lever, your fire team will make their way through a winding pipe and jump up to a small platform atop a chain-link fence. The platform is a trap door, and falling through will lead you to a secret room on your right. Pull the room’s lever and you’ll unlock the path forward. Backtrack through the pipe, and then ascend up to the 6 tunnels near the top of the room. Going through the closest pipe on your left will lead you onwards to the next small puzzle.
In the room, there’s a screen showing 10 doors sorted into two rows. Your goal is to get to the fifth room on the top row. Each room has a switch, and pulling those switches will open some doors and close others. Once your fire team unlocks the desired room and pulls the switch, the large door at the end of the room will open, and enemies will be upon you. Kill them and pull the switch accessible from the large door, and the path forward will open up to yet another puzzle.
This circular room is both a puzzle and an encounter. There are 4 doors, and behind each one are more Fallen who want to block your path, including one with a Scorch Cannon. Pick up the scorch cannon and go to the last unopened door. There should be an energy box next to the door. Fully charge a shot from the scorch cannon and fire it at the energy box to charge it and open the final door, which leads to Phry’zhia, the dungeon’s fist purely combat encounter.

As is usual for boss fights, Phry’zhia the Insatiable cannot just be shot to death. In order to unlock the damage phase for Phry’zhia, first, your fire team is going to need to get another Scorch Cannon. Thankfully, a Scorch Cannon Vandal will be taking pot shots at your fireteam from the back of the room. Once the Vandal is no more, you can use the cannon to open up the doors on the left and right sides of the arena. Behind each door is a wave of enemies, all of which will drop the Burdened by Riches debuff upon death. The debuffs can be deposited into the white crystal in the front of the arena. Doing so for both doors will unlock Phry’zhia’s damage phase, at which point your fire team will only need to rinse and repeat until you bring the Insatiable Ogre to their knees.
The next encounter is somewhat of a race. After pulling the switch on the left-hand side of the room (unless you fancy electrocuting your guardian), your fire team will want to immediately mount their Sparrows. This is because 4 mines have just been activated, and if any of them go off, your entire team will wipe. In order to defuse the mines, you need to stand next to them for a second or two, which will disarm the mine you’re standing next to, and arm the next mine in the sequence. If you don’t think you can get to the next mine in time, there are also switches scattered around the map that will extend the time to the next mine’s detonation if you run over them with your sparrow. After the last mine is disabled, your team will arrive at the next encounter.
After obtaining a new scorch cannon, your team will be able to activate the large cannons found around the map which can launch yourself and your teammates. Your team is looking for a platform filled with enemies, specifically a shielded Abundance Monitor. After jumping to the correct platform, clear it of nonshielded foes and take their Burdened by Riches debuffs to the crystal in the center of the platform, which will eventually break the shield of the Abundance Monitor. You can then turn the monitor into a cannonball by defeating them, at which point you roll the cannonball to the cannon, aim at the glowing nodes on the pirate ship, and fire. Repeat the process until the shield is down, at which point, you may board the vessel.

You are now face-to-face with Captain Avarokk the Covetous. Much like when facing Phry’zhia, your team is going to want a fresh Scorch Cannon. The cannon can be used to overload the three power supplies in the arena. Each overloaded power supply will cause Burdened by Riches to rain down, all of which should be deposited into the crystal. Once enough debuffs have been channeled into the crystal, Captain Avarokk will lose their shield, and the damage phase begins. Rinse and repeat until the Captain is no more, and claim their misbegotten wealth for yourself. Good luck Guardians.

