Deep Stone Crypt Raid Guide for Destiny 2
A complete guide to the Deep Stone Crypt raid for Bungie’s Destiny 2
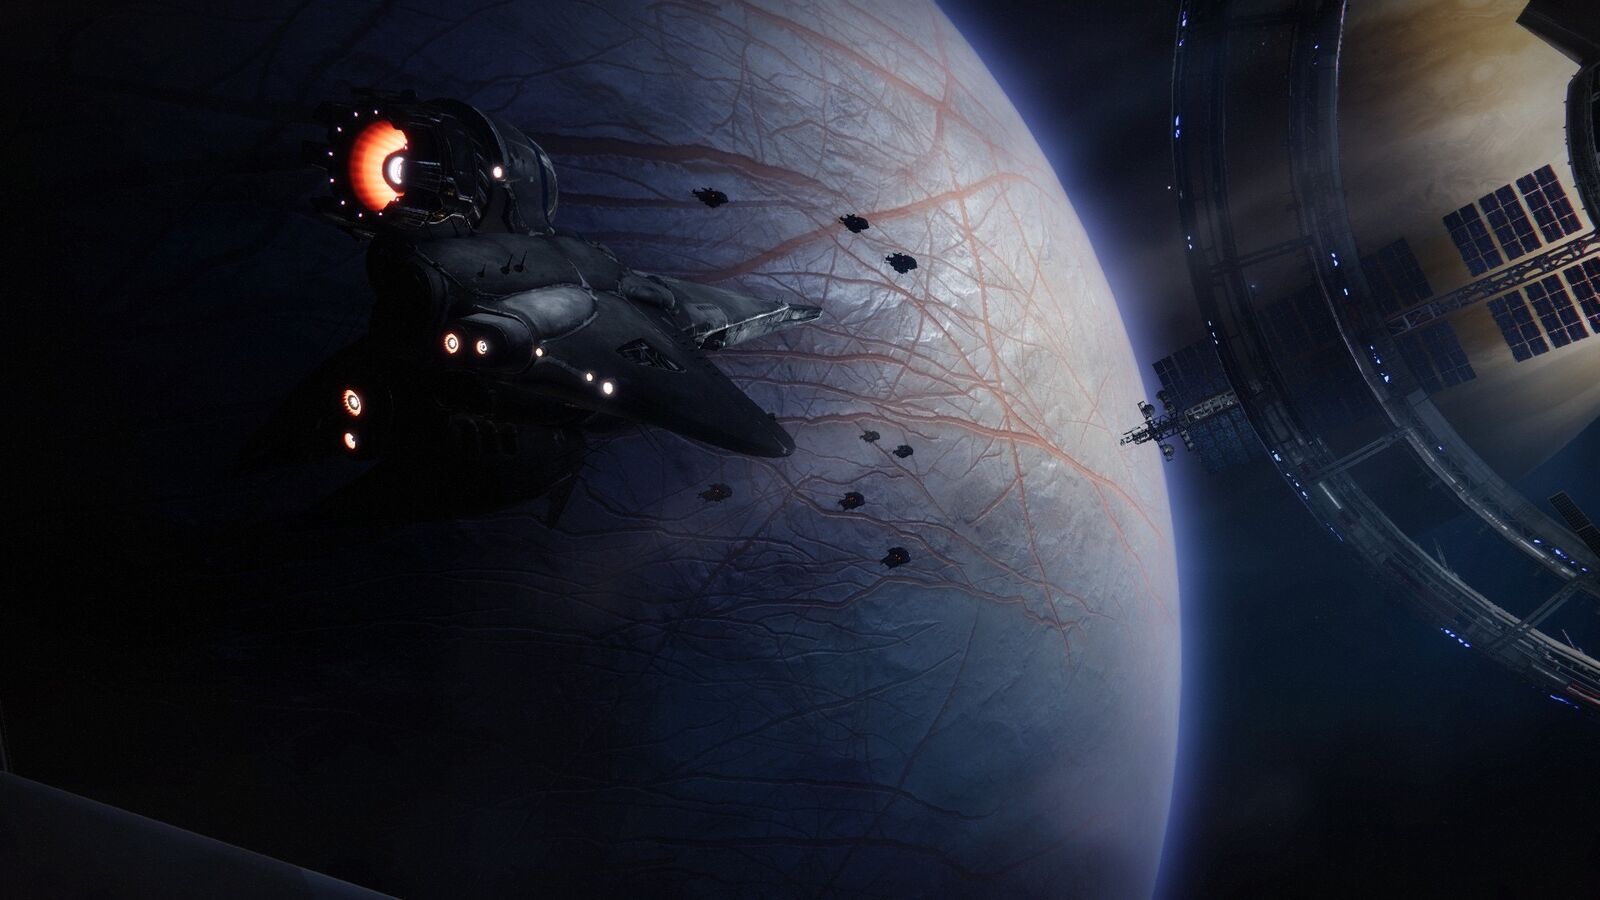
Introduced in the Beyond Light expansion, the Deep Stone Crypt raid is made of many moving pieces. This raid, set on the icy moon of Europa, challenges players with fresh mechanics and intricate puzzles that demand teamwork and strategy. As with previous raids, the complexity can be daunting, and without a fireteam with good communication, the crypt will turn from a raid to a burial under cold Europa.
However, the rewards make the risks more than worthwhile. For those brave enough to tackle its challenges, the Deep Stone Crypt offers some of the most enticing loot and gear, making every strategic move and well-coordinated effort feel truly rewarding.
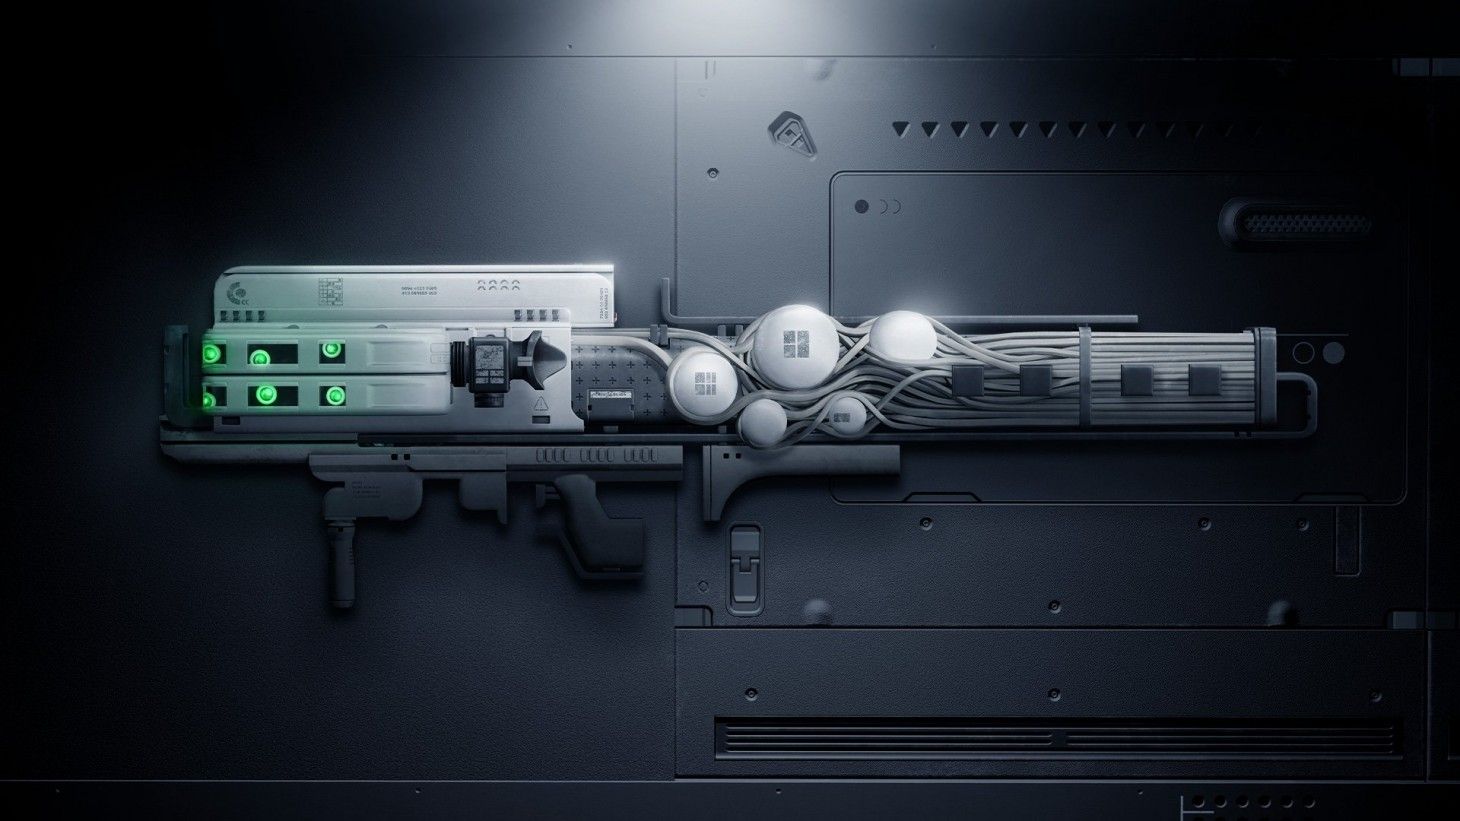
To raid the Deep Stone Crypt, you must first find the crypt. Your fireteam’s search begins on Europa’s surface, during a blizzard. Along the surface are small bubbles of warmth that will ward off any frostbite you may contract out in the cold. And frostbite is a real danger. Your guardian will accumulate stacks of frostbite whenever they’re outside of one of these warming bubbles, and accumulating 10 stacks at a time will kill your guardian. After traveling from heat bubble to heat bubble, your fireteam will encounter one containing a Brig. Killing the Brig unlocks the door into the Deep Stone Crypt.
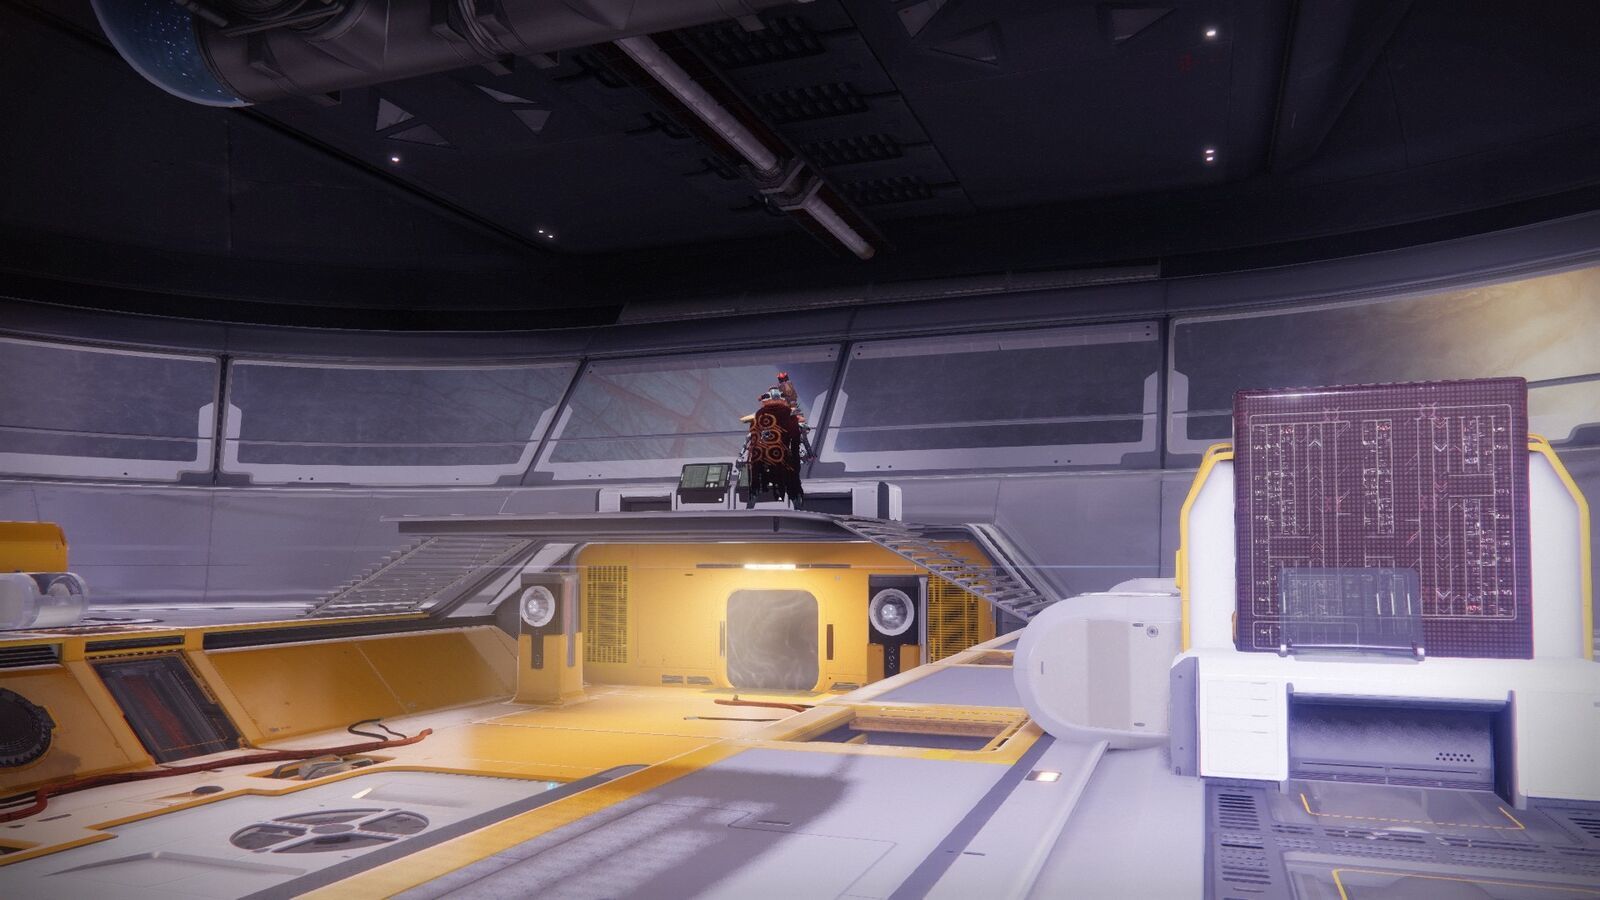
As you enter the Crypt proper, you’ll walk into the security room. The room is divided into 2 sides with 6 large fuses covered with bulletproof glass in the center, 3 on each side. One side is much brighter than the other. Beneath both sides is the basement, also split into light and dark. Scattered amongst the sections of the map are access points for the terminal system. The terminal system can hold one of three buffs specific to the raid to let your fireteam transfer the buffs throughout the encounter. Servitors will deactivate the terminal system until they’re killed. Depositing a buff into the terminal system allows a fireteam member to pick it up at any access point in the encounter.
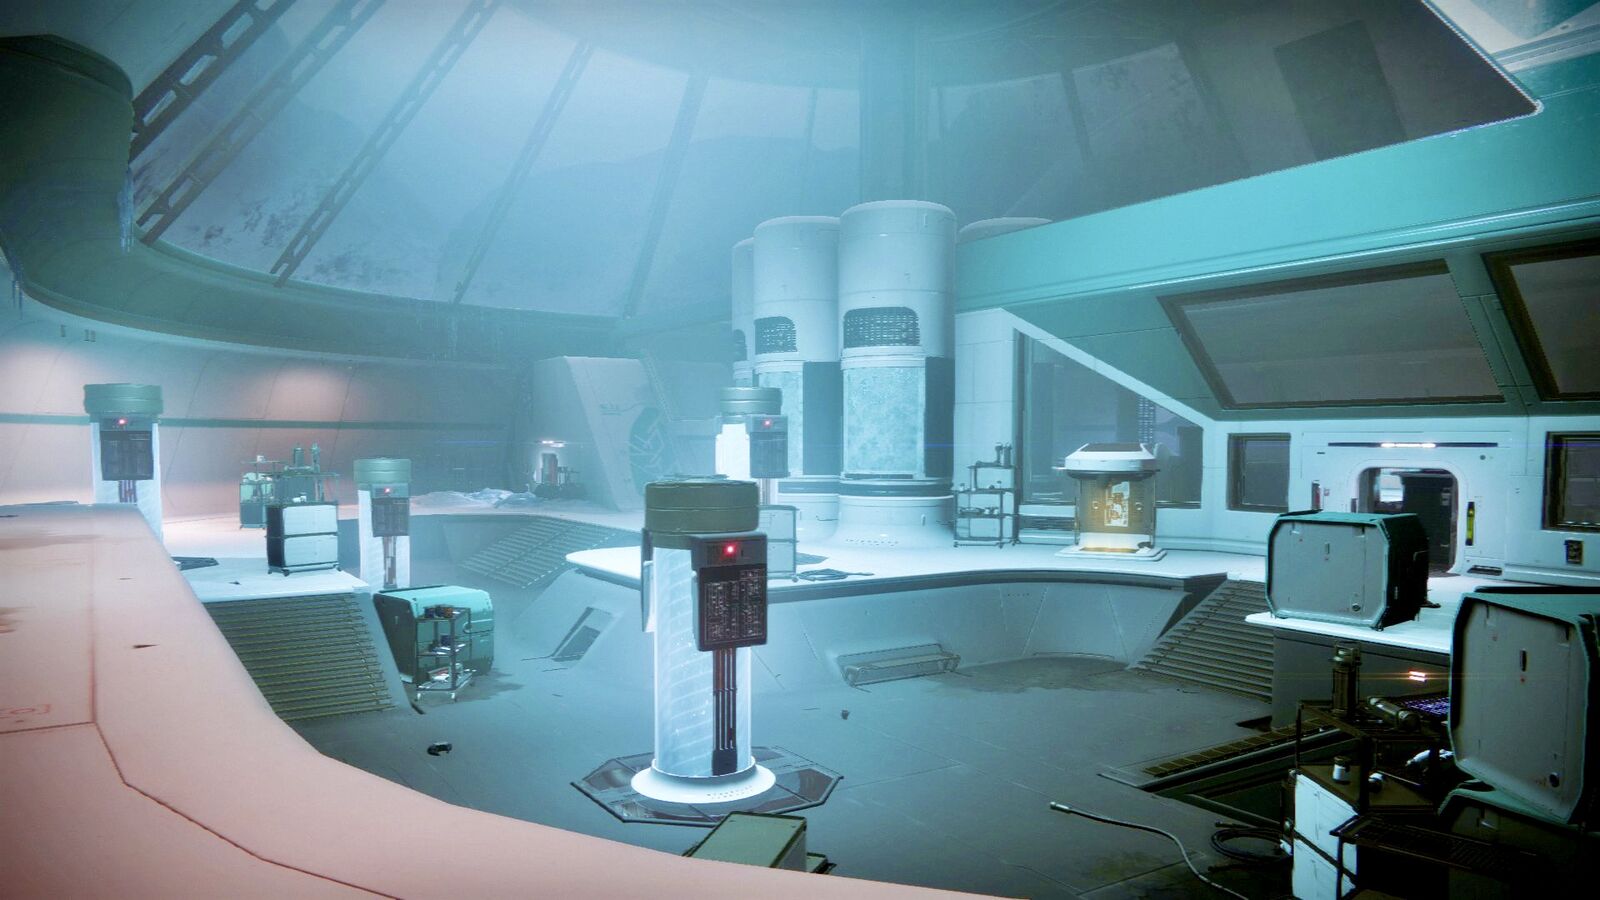
Two buffs are integral to this first encounter. The operator is a red buff that allows the holder to shoot datapads in order to interact with them. The scanner is a yellow buff that allows the holder to see mission-specific items or enemies highlighted in yellow. In order to get downstairs, a guardian will need to take the operator buff already in the terminal and shoot data pads to open up the way down.
As you begin this encounter, you'll start in the Eventide Ruins. Prepare to clear enemies to unlock a hatch that leads into a tunnel. This area introduces players to the mechanics of navigation and survival, kicking off the first part of the raid with a dynamic challenge.
Players must use their sparrows or the pikes provided to navigate through a storm, moving from one protective bubble to another. While outside the bubble, players will notice a Frostbite debuff. Once this debuff reaches a stack of 10, the player will die. Mines along the path can slow your sparrow, and cliffs may require you to jump off rather than riding over them.
The Scanner buff will be dropped upon killing a marked enemy on the dark side ground floor. Looking through windows on the floor will allow the scanner to see highlighted data pads the Operator needs to shoot to progress the encounter.
Some bubbles will have enemies inside of them. Clear them out. The final bubble features a Brig, which marks the end of the encounter. After clearing the enemies at the final bubble, you can enter the next area through a nearby door.
There are 4 marked data pads, 2 on the dark side and 2 on the light. Once all 4 are shot, the large fuses will become damageable, but they’ll need to be taken down in a certain order, only visible from the basement terminal access point using the scanner buff. On the terminal are 3 mini fuses in shadow, and three in light. 1 will glow at a time, indicating which is the next one to destroy. When the damage phase ends, just rinse and repeat until the 6 fuses are broken, and your fireteam can proceed.
- Pro-Tip: Have one player scout ahead
If this part proves difficult, only one player can scout ahead for the next bubble. If they die, their ghost returns to their previous bubble where the fireteam can revive them quickly. This way, players won't have to wait for revives for an extremely long time. There's also a hidden chest to discover in this area.
Setting the Stage
The arena is divided into two levels: upstairs and basement, each split into a dark side and a light side. Upstairs, three large fuses are positioned side by side on both the dark and light sides. Meanwhile, the basement mirrors this division with five keypads on each side, visible from upstairs through floor windows.
Team Division and Initiation
Before starting, split your fireteam into two groups of three. Position three players on the dark side upstairs and three on the light side. The doors between the sides will close, necessitating this division. To initiate the encounter, one player from either side approaches an augment terminal to pick up the Operator buff. Meanwhile, enemies will spawn, including one carrying the Scanner buff, which must be prioritized and collected by the team.
Buff Mechanics and Coordination
The Scanner buff will be dropped upon killing a marked enemy on the dark side ground floor. Looking through windows on the floor will allow the scanner to see highlighted data pads the Operator needs to shoot to progress the encounter. The person with the Scanner buff should identify which keypads are glowing and call them out. Once this step is complete, transfer the Scanner buff to the other side using the augment terminal, allowing them to do the same.
There are 4 marked data pads, 2 on the dark side and 2 on the light. Once all 4 are shot, the large fuses will become damageable, but they’ll need to be taken down in a certain order, only visible from the basement terminal access point using the scanner buff. On the terminal are 3 mini fuses in shadow, and three in light. 1 will glow at a time, indicating which is the next one to destroy.
Timing and Strategy
The Operator's job is to shoot the keypads that were called out. Once this is done, deposit the Operator debuff on the augment terminal at the basement entrance. Upstairs, another player picks up the Operator augment, while the Scanner buff is deposited and passed down. The basement player then retrieves the Scanner role to determine which of the three fuses, on either side of a pillar, are glowing.
When the damage phase ends, just rinse and repeat until the 6 fuses are broken, and your fireteam can proceed. If this encounter is not finished in one phase, the player with the Operator buff upstairs should come and open the basement doors for the Scanner. Otherwise, the player in the basement will burn to death. Throughout the encounter, make sure to assist teammates with enemy spawns to maintain control.
Pro Tip: The Operator should wait patiently until the first Scanner has called out all keypads before descending, as an early start triggers a countdown for the basement's incineration. If trapped, the Operator must pass their buff to a teammate upstairs to reopen the basement doors.
Atraks-1 represents a large step up in difficulty in the raid, as might be expected when you need to periodically shoot yourself into space to successfully complete the boss fight. Upon starting the encounter, your fireteam will need to kill adds both on the ground and up in orbit. Eventually, this will cause servitors to spawn, in addition to enemies carrying the two buffs from the previous encounter.
Your team will want to pick up the operator and scanner before killing all the servitors, as Atraks-1 and their many duplicate bodies will start a wipe mechanic. In order to stop the wipe, and do damage to Atraks-1 in the process, the scanner will need to determine the correct version to attack. During the first wipe attempt, it will always be a version space-side and will switch from earth to space after every attempt. Thankfully there is a terminal system in this encounter as well, allowing for easy transfer of buffs. After the correct Atraks-1 is located, attacking it will stop the wipe mechanic as well as deal damage to the Atraks-1 health bar.
Operator Role
- Initial Task: Assign one player to remain bottom to find and kill an enemy with the Operator augment. Once collected, they should head top.
- Ongoing Responsibility: The Operator stays at the top for the entire encounter, managing tasks specific to this position.
Scanner Role
- Initial Task: At the top, players need to locate and defeat an enemy with the Scanner augment. One player picks it up to identify the correct Atraks-1 version.
- Boss Phase: The Scanner's critical task is to call out the enemy version to attack, a key step for entering the damage phase.
Suppressor Role
- Team Dynamics: Divide the team into two groups of three. The strategy involves one player staying bottom to begin the Operator's tasks while others move top.
Servitor Coordination
- Timing Is Key: Both the bottom and top teams must synchronize their efforts by killing Servitors around the same time to trigger the next phase.
With these roles clearly defined, your team will be well-equipped to manage the encounter efficiently, ensuring each member knows their tasks and how they contribute to the overall strategy.
Pro-Tips for Efficiently Completing the Atraks-1 Encounter
- Maximize Damage Timing
To effectively harm Atraks-1, coordinate with your team for a synchronized attack. The damage window is brief, so initiating fire too early will trigger the boss's departure, leaving only its soul behind. Ensure your team delivers maximum damage in a concise and powerful burst. - Efficient Operator Management
Operators should consistently transport space pods from the top to the bottom team. This allows the players holding the Atraks-1 Replication debuff to swiftly move from the bottom to the top section. - Handle the Replication Debuff Wisely
If the Atraks-1 Replication debuff is left unattended, it will wipe the team after 40 seconds. Once picked up, the Operator has the ability to shoot the debuff off the player's head to reset the timer. This is crucial when teammates are low on time and still haven’t reached an airlock. - Airlock Strategy
Two players can utilize the same airlock for purging, optimally managing time and resources. Since an airlock cannot be opened twice in a single phase, Operators should identify available airlocks by looking for the glowing keypad, ensuring efficiency in the team's movements.
Using these strategies will streamline your efforts against Atraks-1, allowing for faster and more effective encounters.
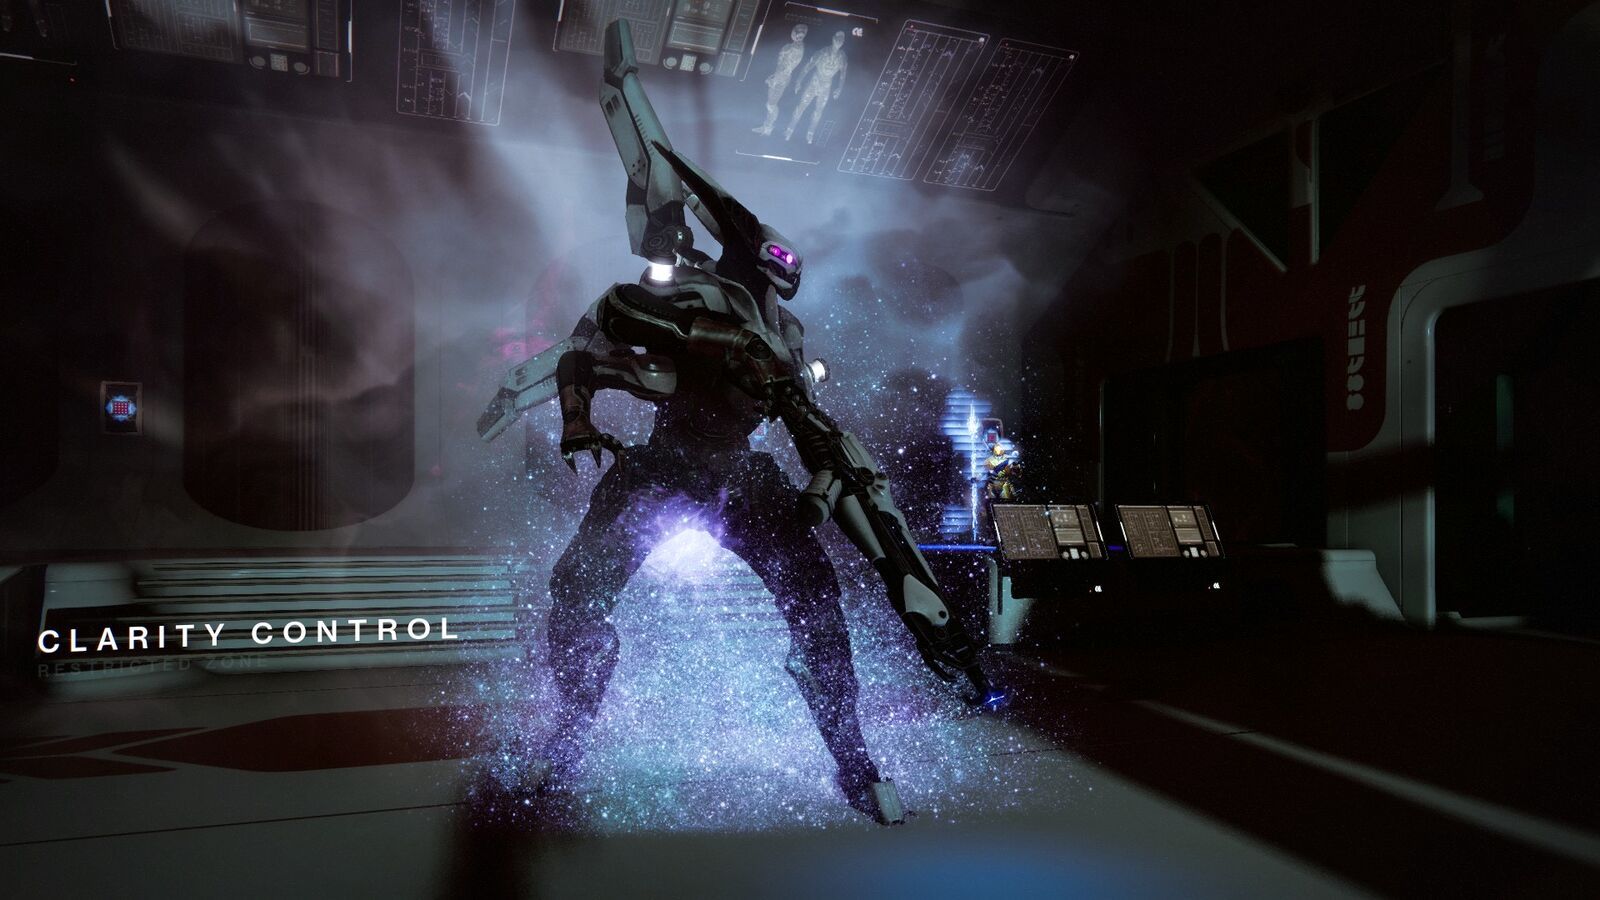
When the version dies, it will drop a purple debuff called Atraks-1 replication. If it is not destroyed before the timer is up, it will create another Atraks-1 and instigate a team wipe. In order to destroy the debuff, it must be picked up, brought to an airlock, and shot into space. Airlocks are located in the space section of the map and can only be operated by the Operator. The operator can also shoot the debuff off of guardians, which serves many purposes. It can lock the debuff in the airlock for destruction, and shooting it off a guardian will reset the timer and allow for the transfer of the buff between guardians if needed. Airlocks can only be used once until refreshed. The encounter refresh happens after 4 Atraks-1’s are prevented from wiping. This causes more servitors to spawn in addition to the airlock refresh. Once all the servitors are once again dead, the wipe attempts begin again. Once Atraks-1 is down to their final health bar, all activity will be directed up in space. Kill as many of the instigating Atraks-1’s necessary to bring them to their knees, and the way forward will unlock.
This next encounter makes use of a third buff, Suppressor, as well as the previous two. Unlike most encounters, destruction isn’t your goal, but rather your failure state, as your goal is to stop the destruction of Europa. After grabbing all 3 buffs from taken enemies, the plan is in motion. The operator can shoot data pads to reduce the number of nuclear bombs that will spawn from 3 to 2. Left alone, the bombs will obviously wipe the party, and a lot more. To stop the bombs, they must be deposited in the correct deposit boxes. In order to know which deposit boxes are correct, the scanner must check to see which are glowing.
In order to use the deposit boxes, Taniks will need to be stunned to unlock them. The suppressor can stun Taniks by shooting them while under each of three spherical security drones when they start glowing blue. After each shot, the drone will stop glowing and the suppressor will need to move to a different drone. Once all three have been used, the boxes unlock, and one of the guardians of the fireteam will have their buff deactivated, but it can still be transferred using the terminal system. After removing a buff, a guardian cannot pick up another for 45 seconds. The guardians that carry the core will gain stacks of Radiation, 10 of which will kill them, but which will wear off after they’re no longer directly exposed. Rinse and repeat bomb defusal until a hole in the floor opens up, at which point the fireteam can run through the newly accessible tunnel while being chased by Taniks, now the Abomination.
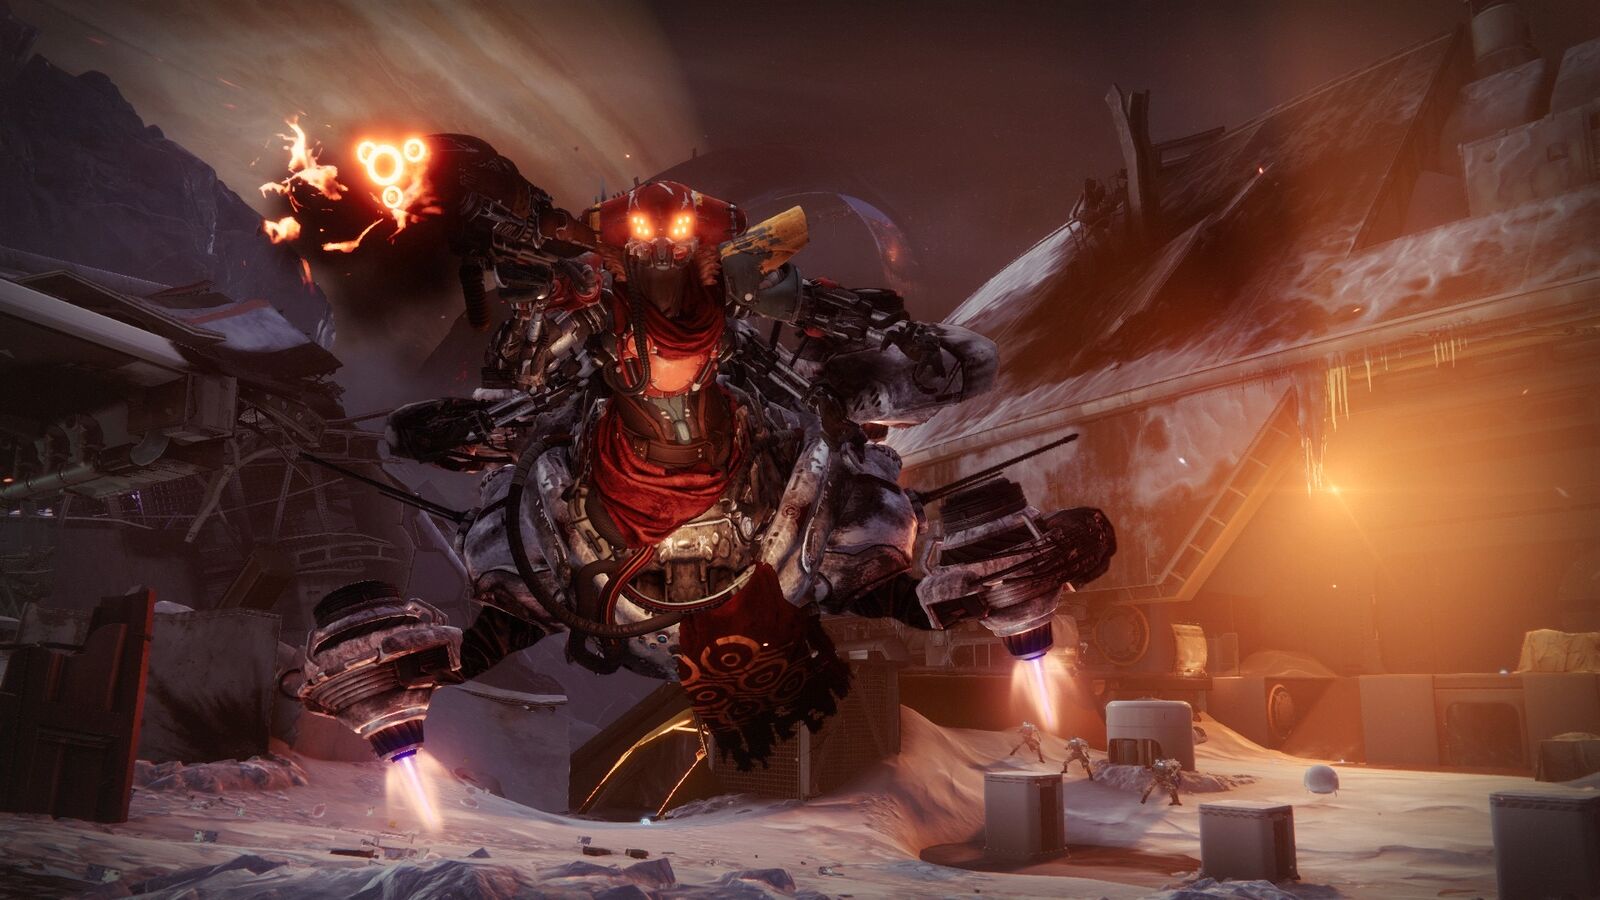
Shooting the junk pile will begin the final encounter against Taniks the Abomination. Taniks will emerge, start firing purple death laser AOEs, and fallen will swarm, including fallen carrying the three buffs. The scanner will need to look through the 6 disposal boxes to see which 2 are glowing yellow. When the 4 corners of Taniks’ rocket start glowing red hot, 2 nukes can be shot off of it. They act just the same as in the last encounter, but the distances are much farther, making the relay strategy practically a necessity.
Understanding the Arena
The arena is divided into three critical areas—spawn, blue, and orange. Each area houses two terminals where nuclear cores must be deposited. Taniks will rotate between these areas during the encounter, creating a dynamic battlefield that requires constant vigilance and communication.
Roles and Responsibilities
- Operator: Essential for freeing allies trapped in the purple bubbles, the Operator must not carry nuclear cores to stay available for this critical task.
- Scanner: This role identifies which terminals in the arena need the nuclear cores. Scanners can carry cores if the situation demands.
- Suppressor: Before depositing cores, Suppressors must stand under the glowing white balls to shoot and stun Taniks, allowing the nuclear core deposit process to continue. Timing is crucial here, as the correct ball to stand under changes with Taniks’ location.
As an additional wrinkle, Taniks will attempt to slow guardians down by encasing them in a purple bubble that can only be shot and destroyed by the operator. The boxes can once again only be accessed when Taniks is stunned, which happens in the exact same manner as the previous encounter, but again, an extra wrinkle is added in the form of multiple pairs of drones, only the glowing ones will allow you to stun Taniks, but which ones glow changes depending on where Taniks is. After they are stunned, the nukes can be dunked and disposed of. Repeat the process with the other two nukes, and the damage phase begins.
Executing the Strategy
Phase One - Core Retrieval and Deposit:
- Shoot Taniks’ boosters to drop two nuclear cores.
- Deposit the cores at the designated terminals identified by the Scanner.
- If carrying a core, coordinate with a partner to manage the radiation debuff effectively.
Phase Two - Damage Phase:
- Once four cores are deposited, Taniks will move to the center, surrounded by a swirling vortex.
- Enter the outer edge of the circle to damage Taniks, using Supers like Well and Ward to maximize impact.
- Avoid the tornado and debris, which can instantly defeat your guardian.
During the damage phase, Taniks will move to the middle of the map and a glowing circle will envelop them as a tornado whirls around them. Getting inside of the circle is necessary to do damage, but going too close to the middle or getting hit by the whirling debris will kill your guardian. In the middle of the damage phase Taniks will temporarily go immune, and hitting him during this will make him throw your guardian out of the circle. Rinse and repeat until the Abomination’s final damage phase, where they will teleport around the map, giving your fireteam everything they’ve got. Stand your ground until Taniks is no more, and claim all that was once theirs. Good luck guardians.
Final Notes
The encounter requires precise coordination and understanding of each role's duties. Players should remain in pre-established pairs to streamline the process. Suppressors should be patient, ensuring two players are detained before stunning Taniks the third time, preventing premature role deactivation. With teamwork and strategy, the path to victory over Taniks is clear.
During the final encounter, players must effectively manage the Deactivated Augment debuff to ensure success. Here's how they can do it:
Key Strategy for Managing the Deactivated Augment Debuff
- Timing the Suppressors' Actions:
- When Suppressors are ready to stun Taniks, it's crucial they wait until two players have been detained. This prevents disruptions in gameplay roles.
2. Role Transition via Augment Terminal:
- After the Suppressors stun Taniks for the third time, one player will receive the Deactivated Augment debuff. This player must promptly switch roles with their paired teammate at an augment terminal.
Ensuring Role Continuity:
- By waiting to stun Taniks until two players are already detained, the risk of the Operator losing their role prematurely is minimized. This strategy helps maintain team efficiency and ensures all roles are covered throughout the encounter.
This approach allows players to seamlessly navigate the challenge of role management, avoiding unnecessary interruptions that could jeopardize the success of the mission.

