
A Complete Guide to the Pit of Heresy Dungeon
Everything to know about Destiny 2’s Pit of Heresy

An ancient evil rests below the surface of the moon, and the Hive have dug and tunneled themselves a home amongst it. Considered one of the hardest activities in the Shadowkeep expansion for Destiny 2, the Pit of Heresy will take everything your fire team has to emerge from the pit in one piece, so it’s best not to dive in blindly.
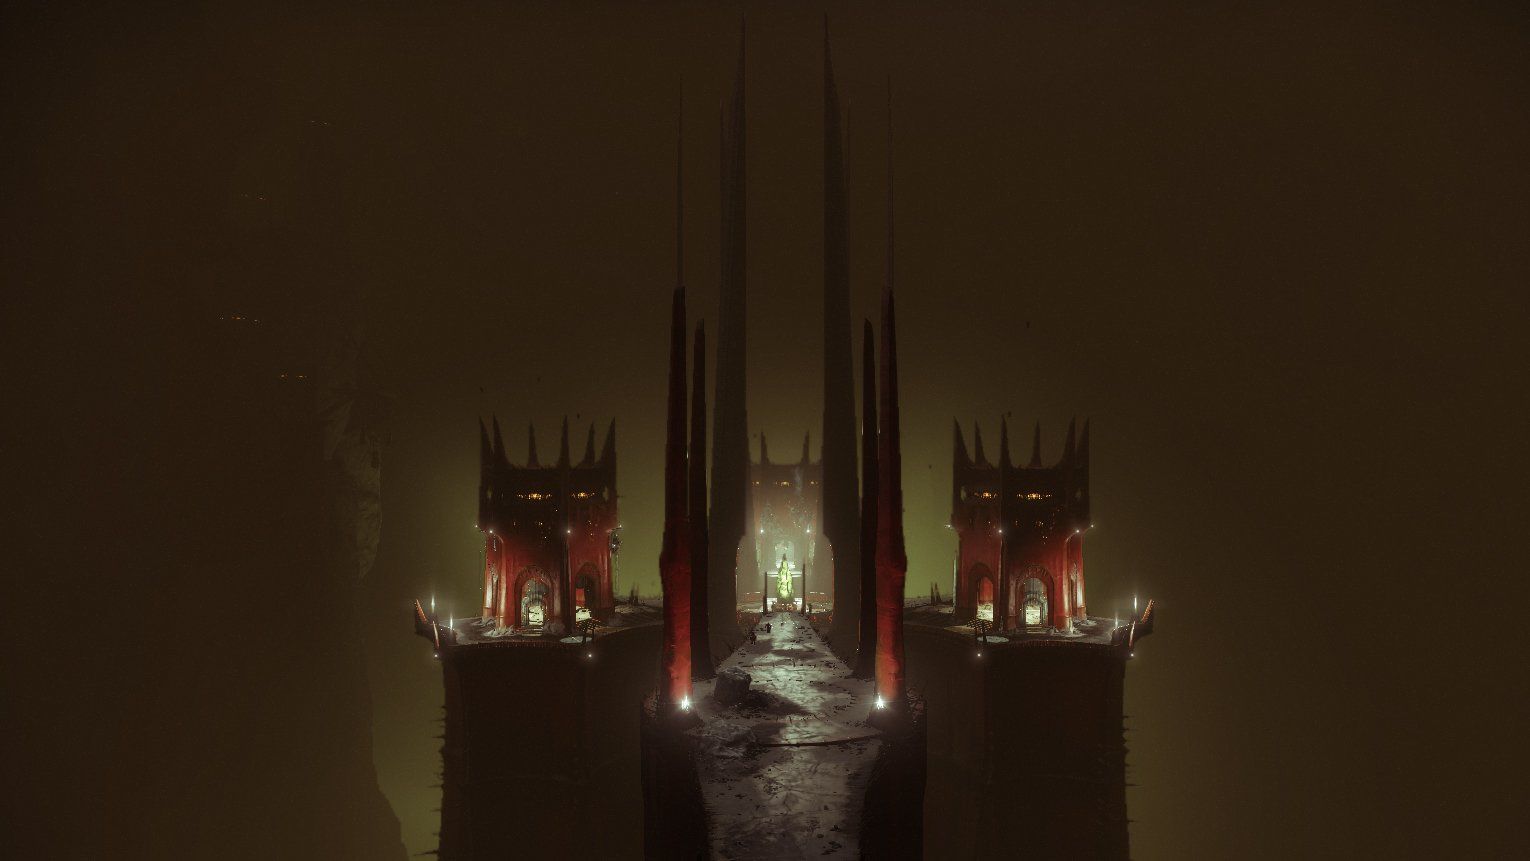
The fight begins in the Necropolis, a cliffside city riddled with the Hive and gigantic in scope. This encounter has a lot of verticality, so make sure to keep aware of your surroundings, and take advantage of the elevators scattered around the map. In the main room, there will be chains with three hive symbols emblazoned on them. Each of the symbols can be found elsewhere in the map, marking the location of one of the three mini-bosses for this encounter. Each mini-boss will be in a locked room in the tower marked by their symbol. In order to unlock the door, kill the Pitkeeper Knight guarding the area.
The order in which you defeat the mini-bosses does not matter, though each of the mini-bosses has a unique way they must be killed, as all are immune to normal means of damage. The Knight must be killed using the light melee attacks of a Hive Relic sword. The Wizard can only be killed using the heavy ranged attack of the sword. The Shrieker needs to have their attacks redirected at it using the sword’s block. Hive Relic swords are held by various other knights around the map. After all three mini-bosses have been defeated, a beam of green light will shine like a beacon, directing your fire team to the next encounter.
Before your team can reach the Tunnels of Despair, they’ll first be presented with a nigh infinite wall of doors. Almost all of them are a trap, as the real way forward is a small slit in the wall that leads into the encounter.
The tunnels are as much a stealth encounter as they are a combat encounter. 3 doors block your fire team from moving forwards, and several invincible Harrowing Pariah Ogres wander the tunnels they can fit through. In order to unlock the doors, your team will need to kill Heretical Knights and take the orb they carry to insert into a door. Once all three doors have an orb, they will open into the Chamber of Suffering.
The Chamber of Suffering is very aptly named, as it’s quite easy to accidentally team wipe in this encounter. At least one guardian will be need to be standing next to an Annihilator Totem, or the totem will kill your entire team. Standing next to the totem will also earn your guardian stacks of the Curse of Suffering, which dramatically increases the amount of damage taken from enemy attacks. The only way to remove stacks of this in the encounter is to kill Heretical Knights and place the orb they dropped into the gate behind the totem. Doing this will remove all stacks of the curse for the one who placed the orb, and placing 6 orbs will open the gate and finish the encounter.
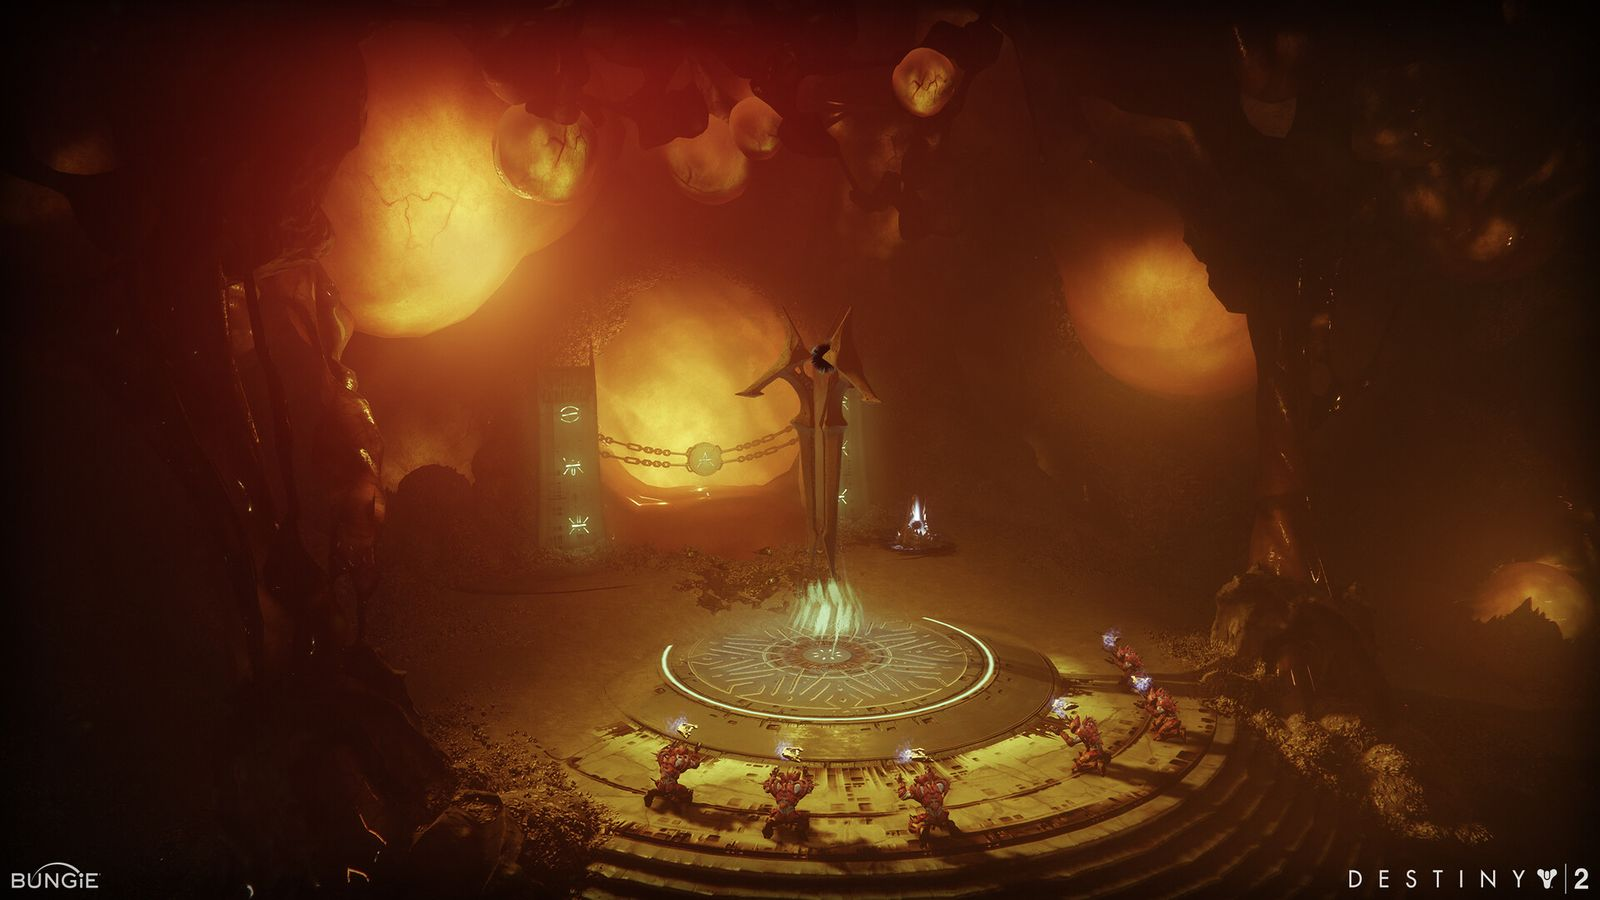
The last encounter before the final boss, the Harrow is much like the Necropolis, but if the area itself was trying to kill you. Traps and steep falls are around every corner. When entering the Harrow, your team will enter a center area with three runes corresponding to three runes somewhere else on the map. Going to these three areas will lead your team to three Malevolent Ritualists, and as might be anticipated, killing them will open up the final area, and onto your fight with Zulmak.
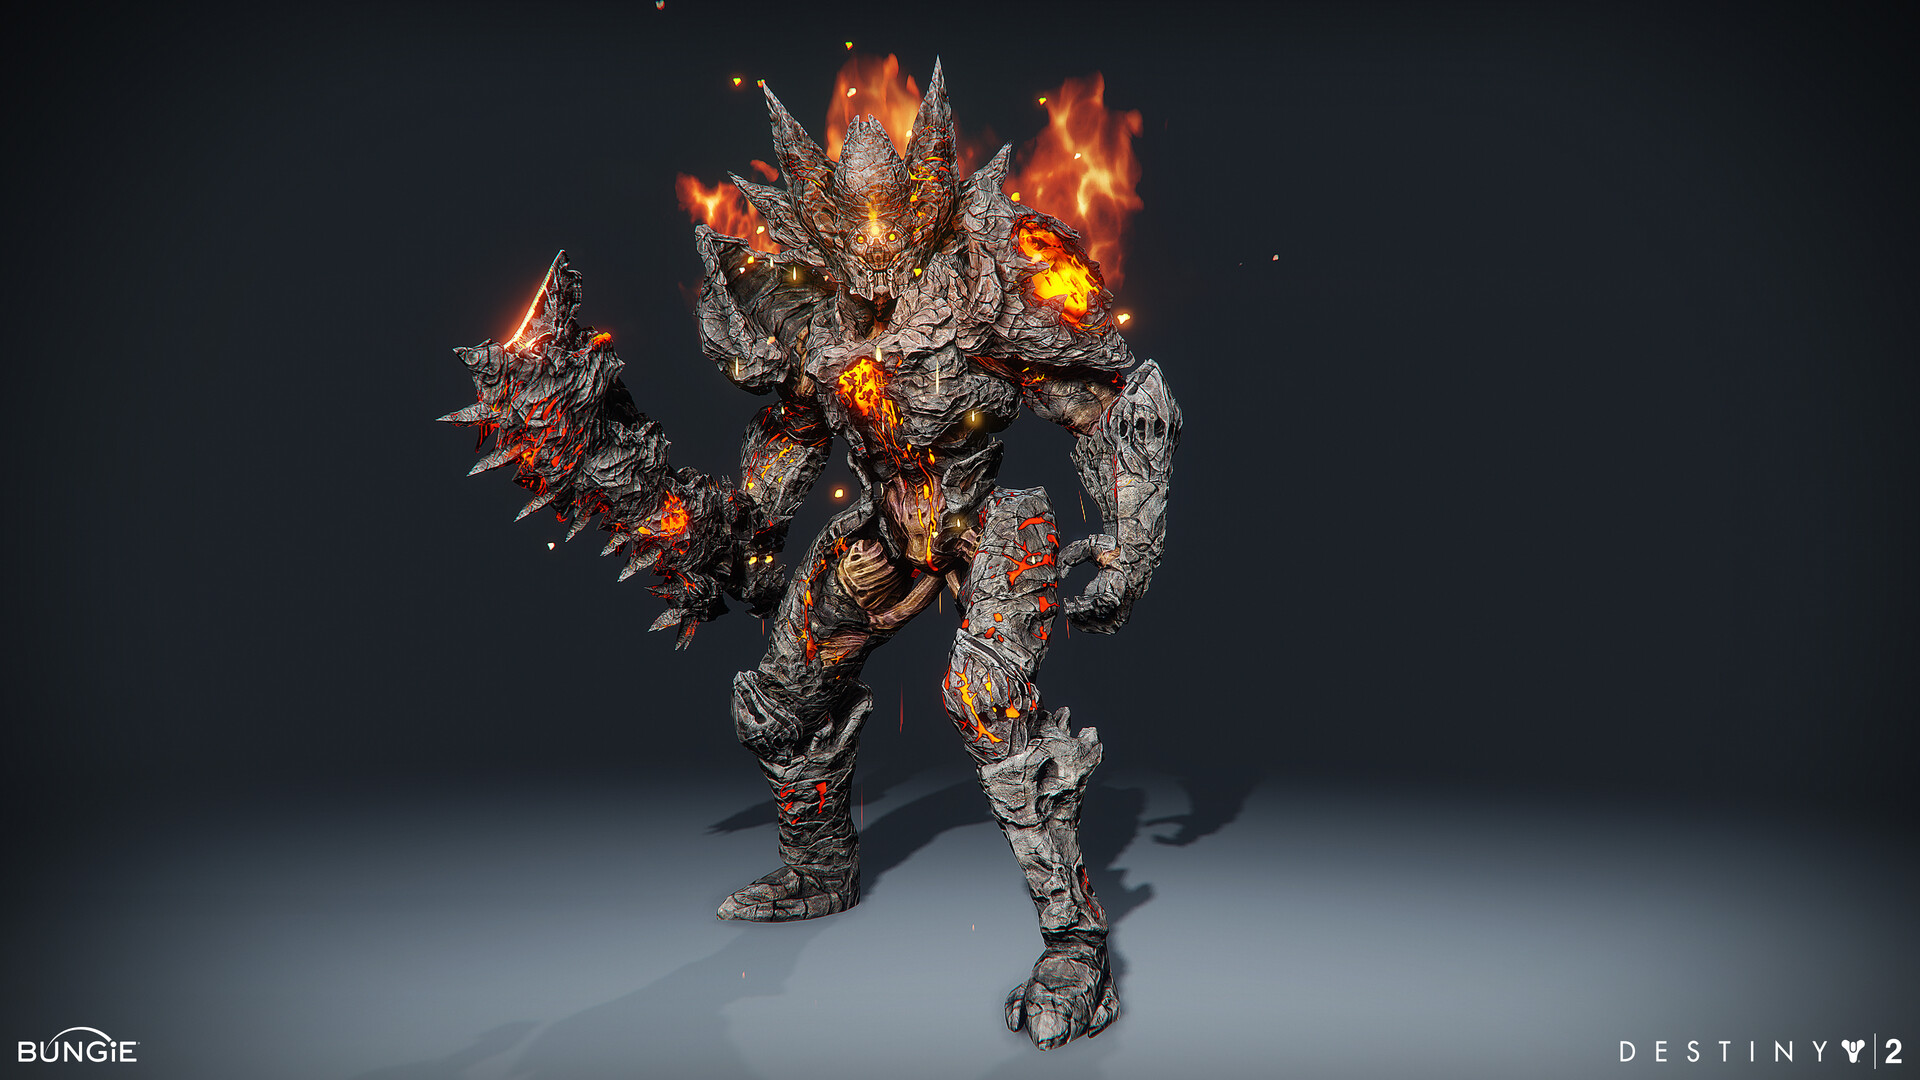
As your team enters the Cradle of Damnation, you will lay eyes upon Zulmak, Instrument of Torment. But Zulmak will be unable to take damage. In order to initiate the damage phase, you’ll need to kill 3 mini-bosses. In fact, they’re the same three mini-bosses that are found in the Necropolis, and they will need to be killed in the exact same way. Doing so will get you three orbs, and bringing those orbs to the center will interrupt Zulmak’s ritual, beginning the damage phase. In order to damage Zulmak during this phase, you and your team will need to stand in the center plate with them. You can tell exactly where the out of bounds area is due to the glowing green aura the plate is now emitting. At the end of the damage phase, Zulmak will kneel. This is your team’s notice to get away from the plate or die. Repeat the previous steps until Zulmak falls to your hands, and all their treasures become yours. Good luck guardians.